Custom Templates
While Custom CSS is a great way to make Zettlr your own through appearance, it doesn't make your papers truly yours. Once you are done with writing, aesthetics matter just as much as the content. Your ideas are worth a lot on their own, but without great design and a typography that invites you to read, your ideas will suffer.
You want your own font, a good line spacing and maybe even some colours. While the PDF Preferences allow you to customise some general settings both on a per-project basis as well as for single file exports, you can't really make use of all the features that LaTeX typesetting gives you. And, oh boy, there are so good examples.
Luckily, one of the core principles of Zettlr's philosophy is to not only give you the most amount of freedom to use tools like Pandoc and LaTeX to your benefit, it also makes it work well for you. This page is meant to give you a headstart of using custom LaTeX templates for your work, so that both your writing and the final product is fit for showcasing!
Preconsiderations
Before getting started with writing your own, custom LaTeX templates, we should spend some words on what will be happening on export. The Zettlr exporting engine is a mighty piece of software that performs a variety of tasks before handing off your documents to Pandoc for the final steps. It is of some importance to know what Zettlr will do to your documents to ensure consistent output and prevent problems and hiccups, especially once you perform more advanced templating. This chapter is dedicated to explaining all steps that Zettlr will perform on your projects and file exports before handing off to Pandoc (which in turn hands off the file to LaTeX).
1. Concatenate All Input Files (Only Applies to Projects)
If you are exporting a project, Zettlr will first perform a simple task: It will concatenate all your files in the way they are displayed to you in the file list and write them to a single temporary file. In order to do so, it will read in the project directory the same way the file list will do (thereby preserving the order), and read in the files. During this step, two operations will be performed on the Markdown source:
- All image paths will be converted to absolute images. This is for security reasons, as LaTeX will fail to export if the image paths are not absolute (as the CWD of LaTeX will not be the one where your Markdown file resides). This way, you can use relative paths everywhere without having to worry about what LaTeX will do to them.
- Make all footnotes unique. Each of your chapters will start with footnote number 1. Therefore, in most cases you would have duplicate footnotes which might fail to export or, even worse, one of the duplicates will be used, while the others will be omitted. Zettlr makes footnotes unique by prepending the file's internal hash. So out of a
[^1], Zettlr will create for instance[^1934976181]. This way every footnote will be unique.
Afterwards, it will save the resulting file to the temporary directory and start up the exporter, which takes us to step 2.
2. Read in the Source File
The obvious thing to do for Zettlr is to read in your source file. It's either the file you want to export quickly using the Share-feature, or the generated, concatenated file from your project (see step 1). While reading the file in, it will make all image paths absolute (it won't happen if you're exporting a project, as the image paths are already absolute from step 1).
Next, it will replace all tags, if you've checked the corresponding option in the preferences. In this step, it will also treat your Zettelkasten links, if applicable. It will either remove the link formatting characters ([[ and ]] by default) or completely remove everything. If you've turned this feature off, it will leave the links untouched. Additionally, if you've specified the respective option, it will strip all IDs.
This is the reason why the "Strip IDs" feature is off by default: It would, due to the nature of the default IDs to consist only of numbers, also make some types of web links unusable.
After the file has been prepared, it will be saved to a temporary location.
3. Prepare the Template
After the file is ready, Zettlr will read in the template and write it to a temporary file. In this step, a number of variables within the template will be replaced. These are as follow:
$PAGE_NUMBERING$: The pagenumbering that you've chosen in the PDF preferences, e.g. Arabic Numbers.$PAPER_TYPE$: The paper that you've chosen, e.g.a4paper.$TOP_MARGIN$: The top pagemargin that you've provided (e.g. 3cm).$RIGHT_MARGIN$: The right page margin that you've provided (e.g. 3cm).$BOTTOM_MARGIN$: The bottom page margin that you've provided (e.g. 3cm).$LEFT_MARGIN$: The left page margin that you've provided (e.g. 3cm).$MAIN_FONT$: The main font (for most text) that you've provided (e.g. Times New Roman)$SANS_FONT$: The secondary font (mostly for headings) that you've provided (e.g. Arial)$LINE_SPACING$: The line spacing, provided by you (e.g. 150 %).$FONT_SIZE$: The font size provided by you (e.g. 12pt).$PDF_TITLE$: The PDF title (either the filename or custom, if exporting a project).$PDF_SUBJECT$: The PDF subject.$PDF_AUTHOR$: The PDF author meta information.$PDF_KEYWORDS$: Keywords for the PDF file.$TITLEPAGE$: Either an empty string or\\maketitle\n\\pagebreak\n, if you're exporting a project with the titlepage option on.\$GENERATE_TOC$: Either an empty string or\\setcounter{tocdepth}{<number>}\n\\tableofcontents\n\\pagebreak\n, if you're exporting a project with the option checked to generate a table of contents.<number>will be replaced with the level (1 to 6).
These variables will be replaced globally, meaning that if the variable \$PDF_AUTHOR$ is found multiple times in the template, it will be replaced each time.
4. Prepare the PDF Export
Now, with the files prepared, Zettlr will prepopulate the command variables that will be fed to the Pandoc engine. In this step, the prepared LaTeX template will be added to the command flags. If there is no custom template, Zettlr will use its default template, which you can find here. The default Zettlr template is an adaption of the Pandoc default template (find it here), with many of the additional sweeteners stripped for maximum compatibility.
Many of the commands in the default Pandoc template require additional LaTeX packages. The Zettlr PDF template strives for maximum compatibility, not for perfect PDFs, to not confuse users who only need the basics.
5. Run the Command!
Now, with all preconditions met, Zettlr will finally run the Pandoc command. It will pass the temporary input file as well as the temporary template file to it and let it do its job. In case you've decided to create a table of contents, Pandoc will be told to generate one. This means that, internally, Pandoc will run the XeLaTeX binary twice. This is because the XeLaTeX command needs to build a PDF so that it knows where the headings actually end up with all spacing applied, and then needs to build it again, only this time with the table of contents included.
It is of utmost importance to keep the ToC-flag in the Pandoc command (which you can edit on the advanced tab in the preferences), because if you remove it, the table of contents won't be included irrespective of the switch set in the Project settings!
After the command has been run successfully, Zettlr will tell your operating system to open the file, so it'll be as if you've double-clicked on the final file. That means, it will be opened with your default PDF reader (or Word document editor, if you've chosen to export to Word, for example). If Pandoc exited with an error, this error will be shown to you using an extended error dialog from which you may also copy the error so that you can google it.
Attention: If LaTeX returns an error message, the full console output will be shown to you, which is---most of the time---both very verbose and also frustratingly vacuous. For example, if simply a LaTeX package is missing, it will output a long list of error messages where you need to spot the
File <package-name>.sty is missing. As a rule of thumb: If you neither use a custom template nor use any LaTeX stuff in your Markdown file, and still experience an error, it indicates a problem with the default template. In this case please report it. In other cases, please consult LaTeX or Pandoc help forums first.
Getting Started with Templating
Now it's time to get to building a template! You can either use an external editor to write your LaTeX template before pointing Zettlr to it. But of course it would be nice if you'd just be able to edit your LaTeX templates from within Zettlr, right?
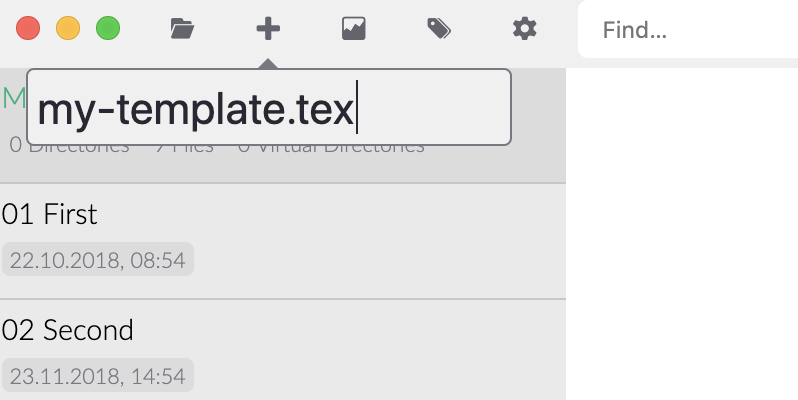
Oh boy, do we have good news. If you create a new file, but provide as the file extension .tex, Zettlr will not create a Markdown file but an actual LaTeX file! This file will be indicated with a small TeX-indicator in the file list (if file meta is turned on) and can be edited from within Zettlr. Hooray!
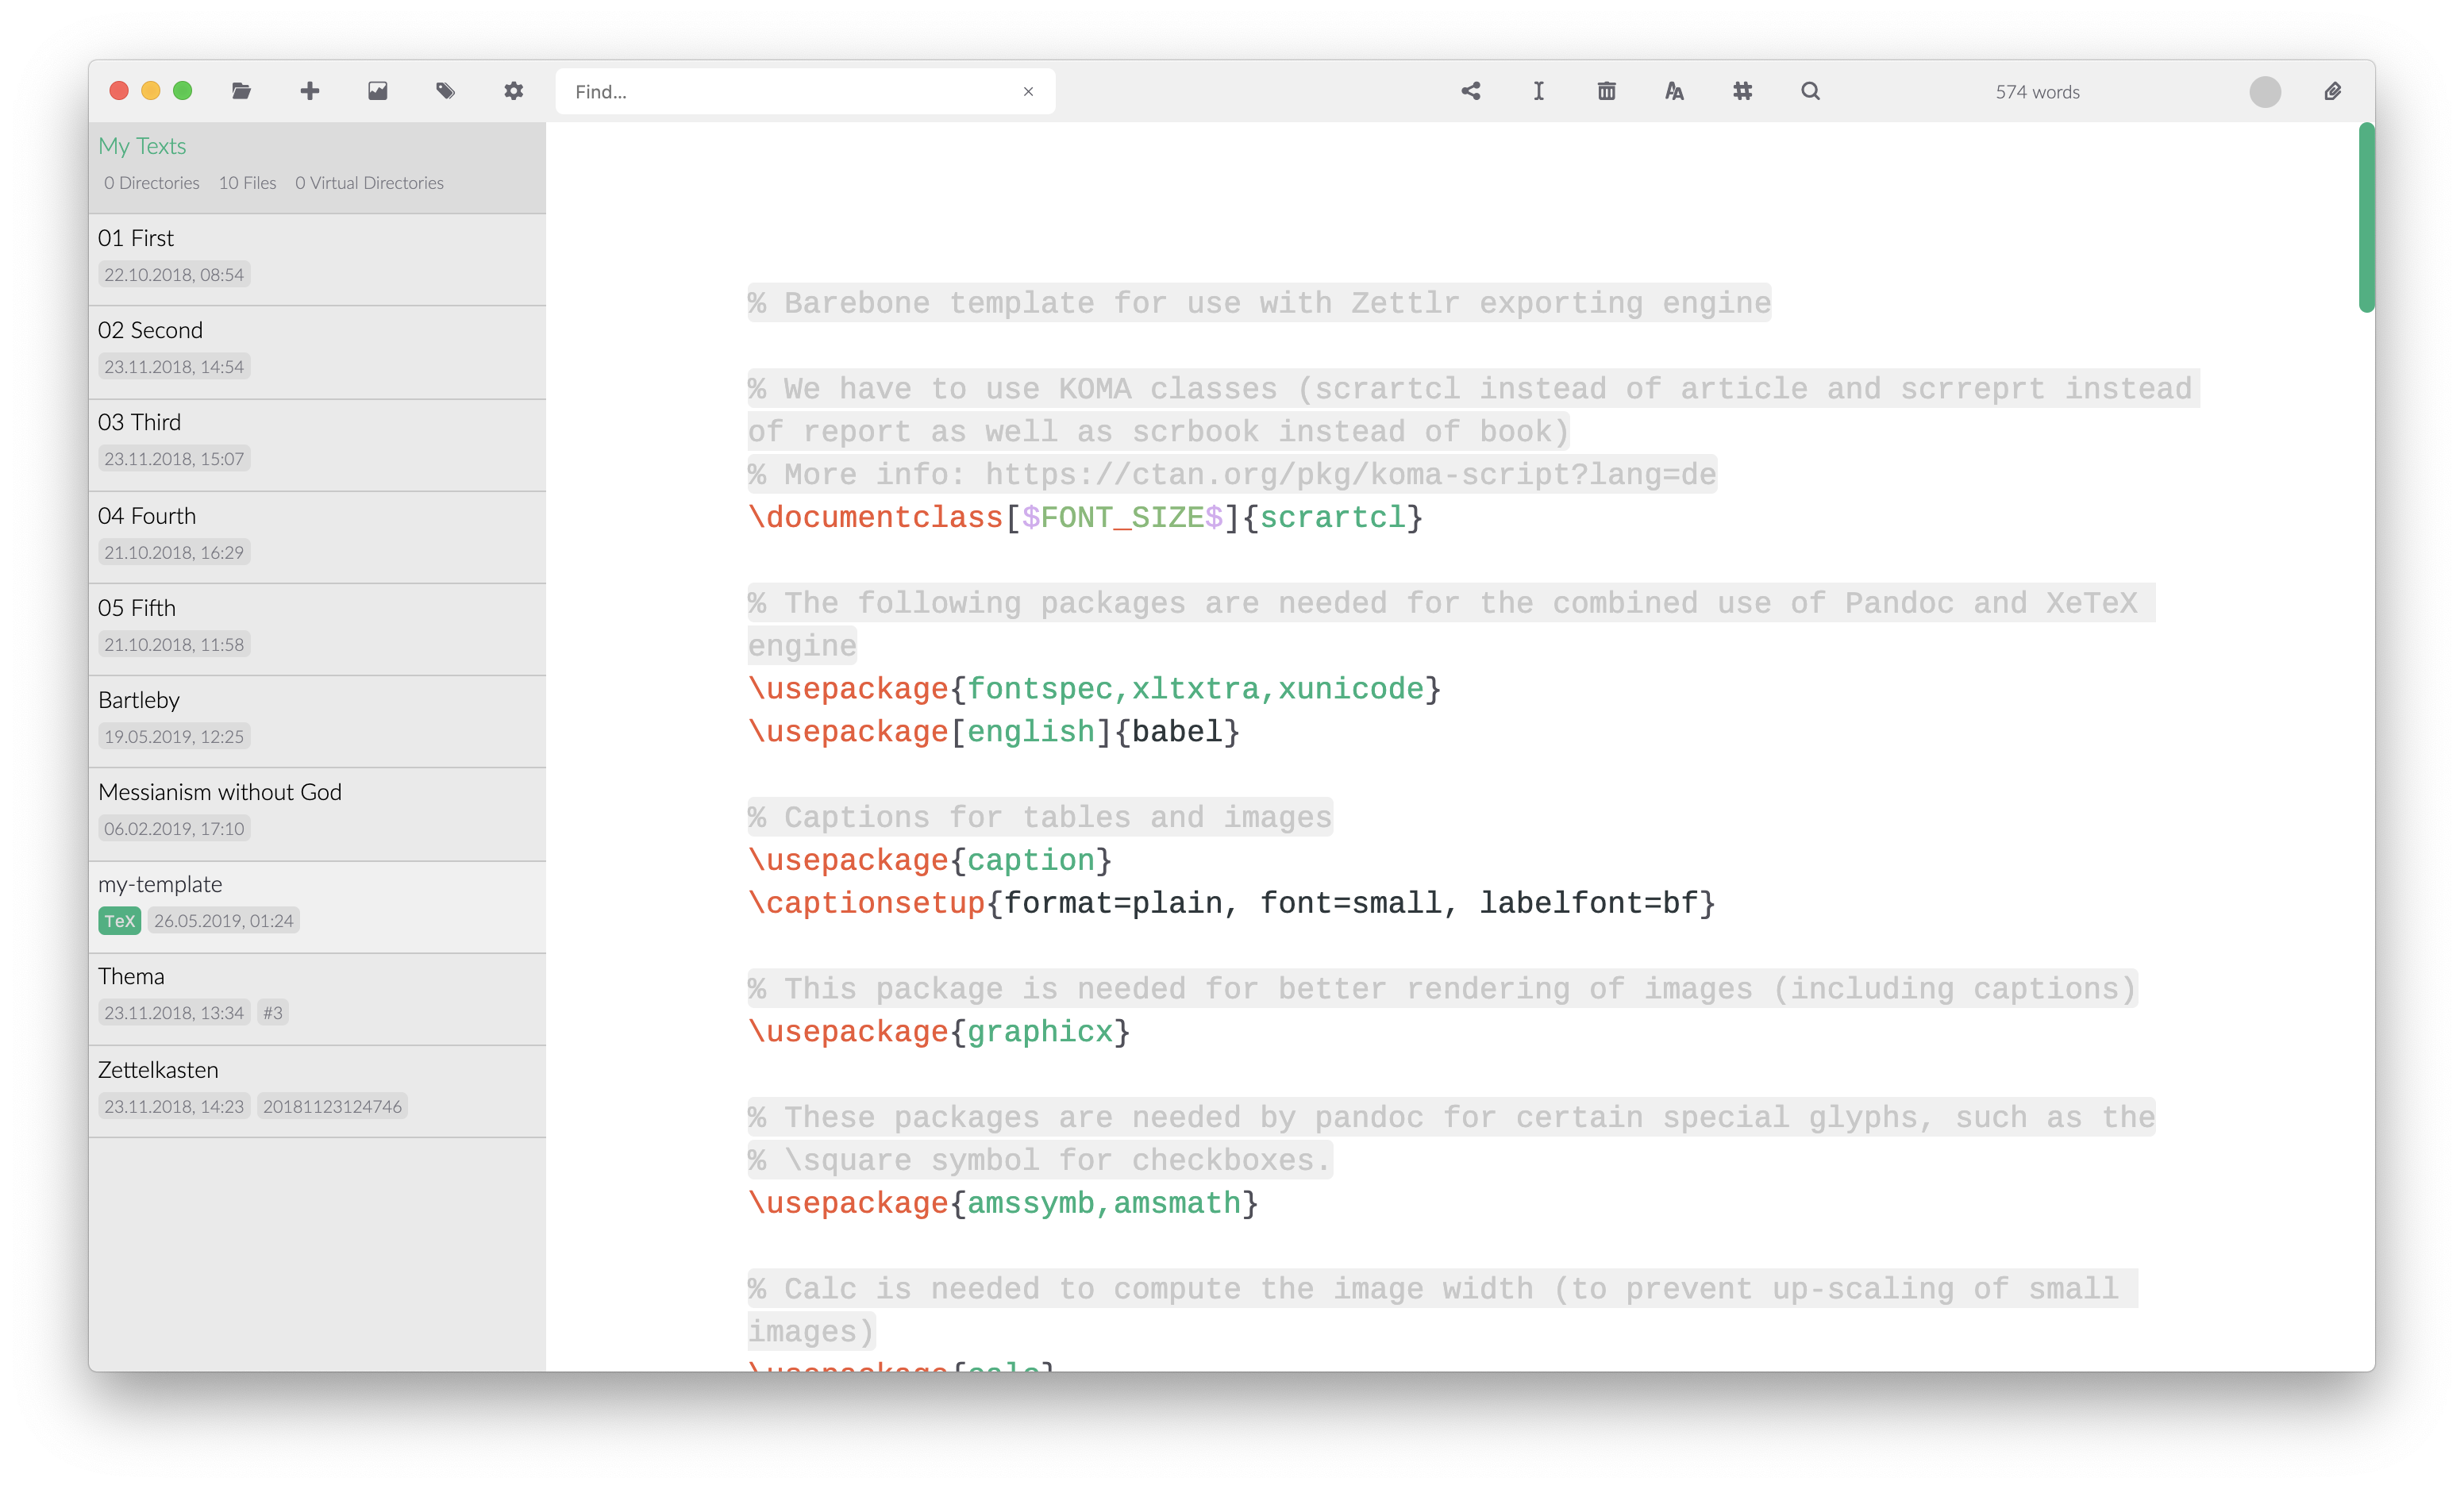
Zettlr will automatically detect if it's a LaTeX file and even switch the code highlighting from Markdown to LaTeX to help you write the file!
Necessary Contents
Apart from the usual LaTeX stuff, there are a few things that need to be present in your files. Remember that the files will be passed down the line through a filter within Zettlr, then Citeproc (if applicable), and then Pandoc, before being passed to the LaTeX engine. Therefore, you can optionally leave out all Zettlr-specific variables altogether, but one variable needs to be present at all times:
$body$
This variable will be replaced within Pandoc with the parsed contents of your Markdown file(s). If you leave it out, your contents will be pasted into oblivion, so make sure to never forget to place this variable where your content should end up!
This also means that while the default Zettlr template omits a lot of variables from the default Pandoc template, you are free to include all of them on your own! You can make use of the full array of Pandoc's variables, and of Zettlr's variables --- or just leave them out. This is where the templates become truly powerful.
Hacking Your Templates!
Now let's get to the fun stuff. Over time, Zettlr has incorporated more and more options to finegrain your control over the exporting process. This means that you can actually do some fun stuff with Zettlr. For instance, you can completely circumvent all the nice things the exporting engine does to your files (except parsing the source file(s)) by simply changing the Pandoc command in your preferences to a fixed one.
What you could also do is place Pandoc variables within your Zettlr variables (for instance setting the PDF author in your preferences to something including a Pandoc variable). Then, once Zettlr has run over your file, Pandoc will replace its own variable after the Zettlr variable has been replaced.
And if you really feel like hacking everything, have a second look at the Pandoc command. If you look closely, you can see that in front of the command there's pandoc written. Know what this means? You may have guessed it: The Pandoc command is not only just something that will be passed to Pandoc, but it's the full console command that will be run! What this means should now be obvious: You can run some custom scripts and logic before and after the actual Pandoc command runs!
Let's assume you want to pass the temporary Markdown file to a custom script to perform even more actions, and afterwards move the file to some other place? Consider the following adaptation of the Pandoc command in the preferences:
pandoc "$infile$" -f markdown $outflag$ $tpl$ $toc$ $tocdepth$ $citeproc$ $standalone$ --pdf-engine=xelatex -o "$outfile$" && cp "$outfile$" /Users/zettlr/Desktop/Final.pdf
This command would copy the final output file to the Desktop of the fictional user "zettlr" and name it "Final.pdf" (assuming you run on macOS). Instead of using a simple shell command like cp, you could also pass whole scripts that would run afterwards. The sky really is the limit!
Final Thoughts
Zettlr strives to give its users full command over what they can do with their files. What we've outlined on this page is only the start. We've not tried to go crazy ourselves, but you can really do stuff. How do you use Zettlr's possibilities to do weird things? Tell us on Twitter, the Forum, or on Reddit!