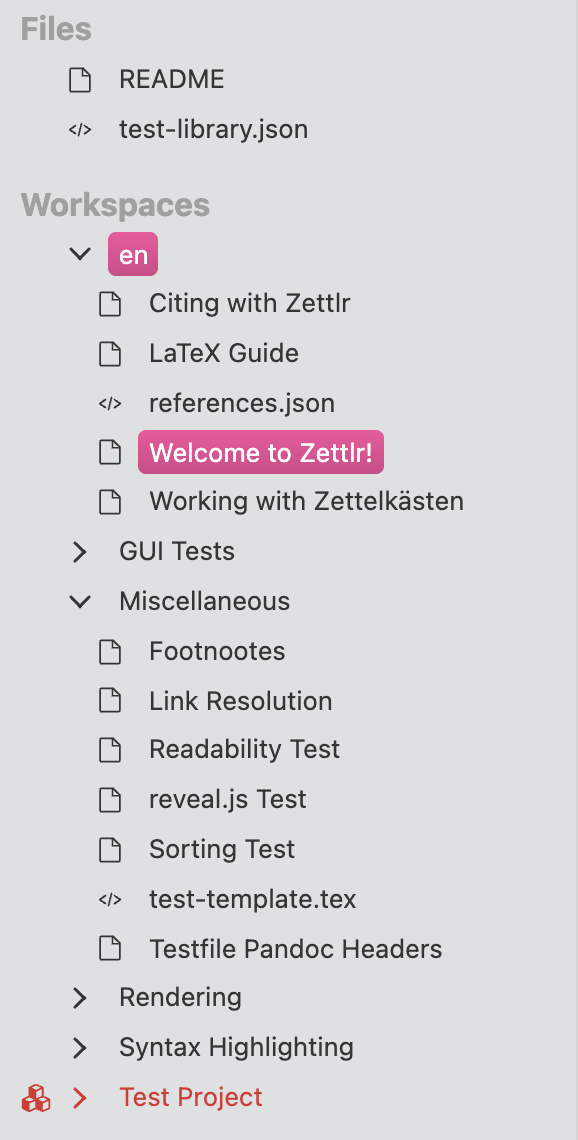
Workspaces and Folders
When you start Zettlr for the first time, you will be greeted with a tutorial that walks you through the first steps with the app and shows you some features hands-on. After you're done with this, however, you likely want to start working on your own files.
If you're used to working with programs such as Microsoft Word or LibreOffice, you'll know that these programs are centered around files. You use your file manager (Windows Explorer, Finder, etc.) to navigate to files and then open them with a double click.
Zettlr – like many other Markdown-based programs – is centered around folders instead. This means that the first step you'll need to take is to open one.
Zettlr knows two kinds of folders: Regular folders and workspaces. The main difference between the two is that workspaces are root- or top-level folders. While both types of folders support the same features, you can close workspaces but not folders, and you can drag around and move folders, but not workspaces.
Note
In the following, we first introduce features unique to workspaces, and afterwards introduce features common to all folders.
Creating and Opening Workspaces
If you've already worked with text, you likely already have a few folders that contain your work. You can open those folders directly in Zettlr. However, if your folders contain all Word documents and not Markdown documents, you may want to create another folder to load in to Zettlr, and then import those Word documents to Zettlr.
Zettlr can only open existing folders, so if you don't yet have a candidate to load into Zettlr, make sure to create a new folder now.
To open a workspace, either press Cmd/Ctrl+Shift+O or click the third icon to the left of the toolbar. This will open a folder selection dialog. Navigate to the correct folder, select it and click "Open".
Zettlr will now begin to load the folder. While doing so, it will scan the folder for files that it recognizes. If there are already Markdown files somewhere in the folder you just opened, it will read those files and collect some metadata from them.
Note
If you have already worked with Markdown-based programs and have amassed a large number of Markdown files, it can take a while until Zettlr displays the workspace.
If opening the workspace takes some time, don't worry: Zettlr caches the information it collects about your files so that it doesn't have to process the files a second time. The next time you start Zettlr, it should be very quick.
You can load several workspaces at the same time, for instance if you want to separate different chunks of work (e.g. one workspace named "Zettelkasten" and another named "Projects").
Zettlr will watch all files within your workspaces for changes. For instance, if you use a cloud service to backup your files, e.g., Google Drive, Dropbox, or a Nextcloud instance, it may be that your cloud application synchronizes changes to a file only after you have started Zettlr. Then, Zettlr will recognize this and reflect these changes appropriately within the application.
Note
It is highly recommended to have at least one workspace open within the application. It is possible to only open single files from your computer and work on them, but this is discouraged, as you will lose a lot of functionality that is tied to workspaces.
Closing and Removing Workspaces
Sometimes you may wish to no longer work in certain folders, or you may have folders that you need to work with temporarily, and then want to close them. Zettlr offers you two ways of removing workspaces from the app: Closing and removing them.
When you close a workspace, Zettlr will unload the folder, but don't do anything else to it. If you remove a workspace, Zettlr will unload the folder and also put it into the trash bin. Choose the action most appropriate for your use case.
To close or remove a workspace, right-click the folder in the file manager, and select "Close Workspace" or "Delete directory". Zettlr will ask you if you really want to do so, and then unload the directory and, if you chose to delete it, move it to the bin.
Managing Folders
Once you have your workspaces loaded, you probably want to add additional folders to further organize your files. You can do this very similar to how you do it in your file browser.
To create a new folder, right-click on any workspace (or other folder) and select "New directory…". Type a name and press Enter to create it. To remove a folder, right-click it and select "Delete directory". Confirm that you want to delete it, and Zettlr will put it into the trash. Renaming a folder works analogously.
You can move folders around by dragging and dropping them where you want to move them to. Note that moving workspaces around is not possible. You can also drag folders from one workspace into another.
Note
If you want to move a folder into a subfolder that is collapsed, move the folder on top of it and wait. After a short delay, the folder will uncollapse, allowing you to move the folder into any of the subfolders that are now visible.
Folder Properties
All folders (including workspaces) allow you to view a set of properties. To do so, right-click any folder and select "Properties". A pop-up will appear that shows you a set of information regarding the folder and allow you to perform additional actions.
The pop-up will show you the folder's name, when it has been created and last modified, how many files and cumulative words are within this folder. You can also change the sort order here.
With the switch named "Enable Project", you can turn this folder into a project. To read more on projects, head over to our project introduction.
Lastly, you can select an icon to identify the folder with. By default, a folder will have no associated icon, but if you select one here, it will show up next to its name in the file manager. This is purely decorative and will help you more quickly identify relevant folders.
Note
Custom icons will be overridden by the project status; i.e. once you turn a folder into a project, the folder will display the project icon instead. To see the custom icon, you'll need to turn off project features.
Sorting files
A common action that you will want to take is to sort files. By default, files are sorted by filename ascending. To change the sort order for a given folder, right-click it and select "Properties".
You will see a section with two dropdown menus: "Sort by name" and "ascending". With the first dropdown, you can choose whether you want the folder sorted by name or or by time (when the files were last modified), and whether it should sort ascending (from A to Z) or descending (from Z to A).
The folder will immediately apply your changes.
Note
By default, your files will be listed before your folders. You can change that in the settings.
Locating Folders on Disk
Zettlr shows you those folders that you have opened as workspaces as if they were collocated. This makes it very easy to work with them, but it makes it more difficult to locate the corresponding folders later on.
If you are unsure where a folder actually sits on your computer, you can locate it. To do so, right-click the folder and select "Open directory". This will open your file browser (i.e., Windows Explorer, Finder, or your chosen Linux file browser) and highlight the corresponding folder.