プレゼンテーション
Zettlrではreveal.jsを使って、Markdownファイルを直接プレゼンテーションファイルにエクスポートすることができます。reveal.jsは、プレーンHTMLとJavaScriptを使って、プレゼンテーションを作るための軽量ソリューションです。作られたプレゼンテーションはブラウザを起動できるすべてのコンピューターで見ることができます。今日においては、ほとんどすべてのコンピュータで開くことができるでしょう。
reveal.jsでMarkdownファイルをエクスポートするには、コンピューターにPandocをインストールしてください。Pandocのインストール方法についてはエクスポートの説明をご覧ください。
事前の考慮事項
プレゼンテーションに変換するためのMarkdownは、その他のMarkdown文書とは少し異なる構造となります。
スライドを作る
新しいスライドを挿入するには2つの方法があります。一つは、レベル1の見出しを使う方法で、それがそのままページのタイトルになります。しかし、レベル1の見出しでは大きすぎると感じたり、そのスライドでタイトルを使いたくない場合は、Markdownの区切り線(***または---)を使って各スライドを区切ることができます。
見出しや区切り線に続くものがスライドの内容となります。最後のスライドを区切り線を使って明示的に終了させる必要はありません。
Markdown要素を使う
スライド内でもすべてのMarkdown要素を使うことができ、それらは予想通りに出力されるでしょう。また各スライドに脚注を配置することもできます。
上級者向け機能
もちろん、reveal.jsはプレゼンテーションの制御に関してPowerPointやImpressと同等の汎用性を持っています。たとえば、CSSクラスを使って、プレゼンテーションのページを進める前に特定の要素を変化させることができます。これは"fragment"と呼ばれるものです。Pandocエンジンの制限により、この機能を使うには生のHTMLを書く必要があります。
<ul>
    <li class="fragment fade-in">This item will fade in.</li>
    <li class="fragment highlight-blue">This will be highlighted blue.</li>
    <li class="fragment highlight-red">All available transitions are documented [here](https://github.com/hakimel/reveal.js/#fragments).</li>
</ul>
これは3項目のリストとなります。すべての項目は"fragment"になっていて、次のスライドに移動するショートカット(右矢印キー)を押すと、1番目の項目がフェードイン(fade-in)します。もう一度押すと、2番目の項目が青色にハイライトされます。3回目は最後の項目が赤色にハイライトされます。さらにもう一回右矢印キーを押すと、次のスライドが表示されます。
プレゼンテーションの設定
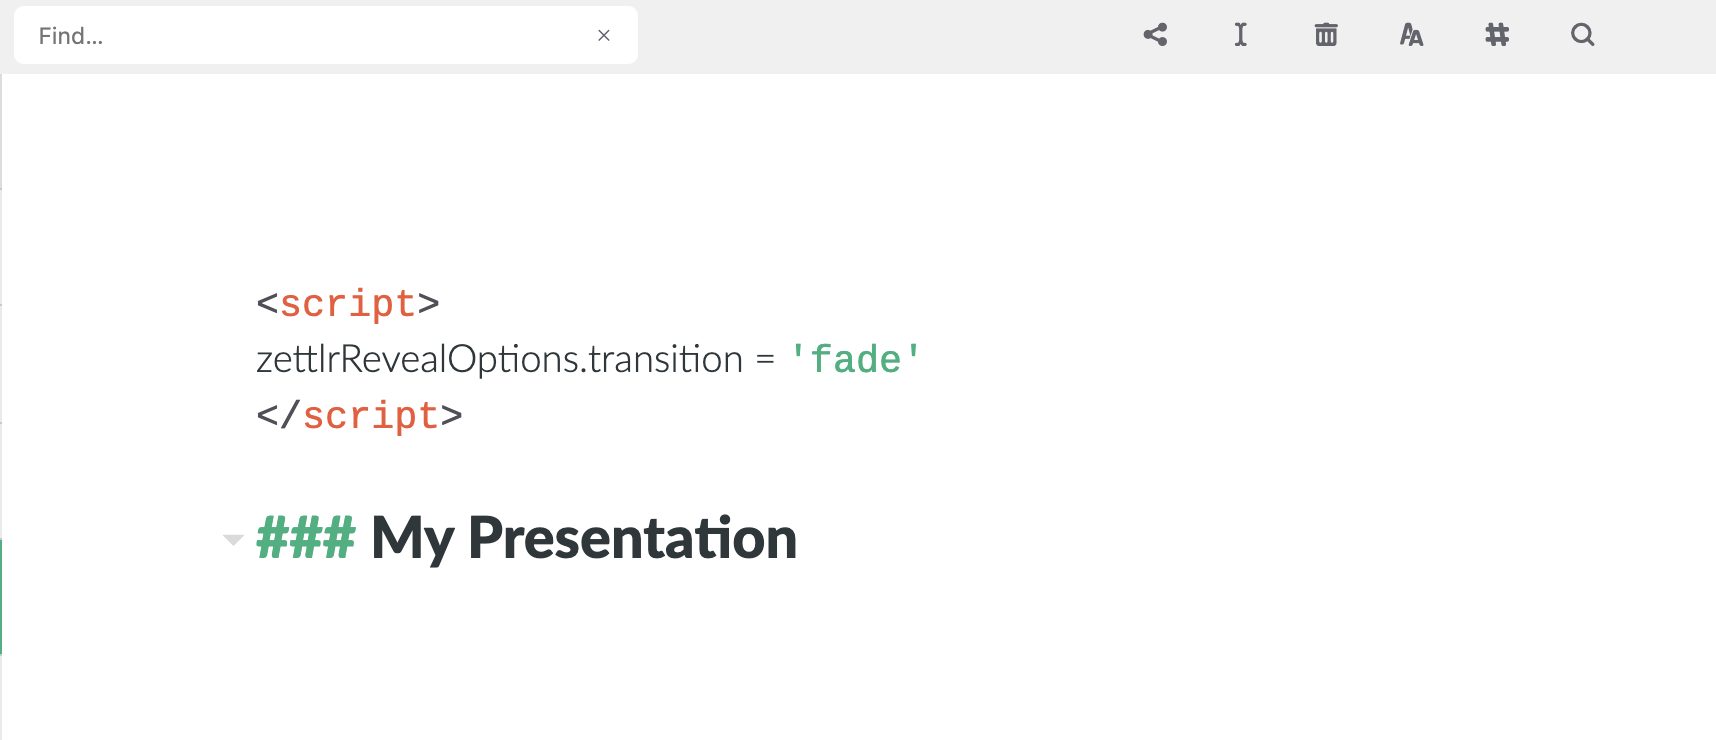
もちろん、プレゼンテーションに関する設定項目もあります。スクリーンショットのように<script>タグを挿入して操作できる、簡単なJavaScript命令があります。zettlrRevealOptionsオブジェクトの属性を設定して変更することができます。
設定できる項目を以下に示します。
const zettlrRevealOptions = {
    // Display controls in the bottom right corner
    controls: true,
    // Display a presentation progress bar
    progress: true,
    // Display the page number of the current slide
    slideNumber: true,
    // Push each slide change to the browser history
    history: true,
    // Enable keyboard shortcuts for navigation
    keyboard: true,
    // Enable the slide overview mode
    overview: true,
    // Vertical centering of slides
    center: true,
    // Enables touch navigation on devices with touch input
    touch: true,
    // Loop the presentation
    loop: false,
    // Change the presentation direction to be RTL
    rtl: false,
    // Randomizes the order of slides each time the presentation loads
    shuffle: false,
    // Turns fragments on and off globally
    fragments: true,
    // Flags if the presentation is running in an embedded mode,
    // i.e. contained within a limited portion of the screen
    embedded: false,
    // Flags if we should show a help overlay when the questionmark
    // key is pressed
    help: true,
    // Flags if speaker notes should be visible to all viewers
    showNotes: false,
    // Global override for autolaying embedded media (video/audio/iframe)
    // - null: Media will only autoplay if data-autoplay is present
    // - true: All media will autoplay, regardless of individual setting
    // - false: No media will autoplay, regardless of individual setting
    autoPlayMedia: null,
    // Number of milliseconds between automatically proceeding to the
    // next slide, disabled when set to 0, this value can be overwritten
    // by using a data-autoslide attribute on your slides
    autoSlide: 0,
    // Stop auto-sliding after user input
    autoSlideStoppable: true,
    // Enable slide navigation via mouse wheel
    mouseWheel: false,
    // Hides the address bar on mobile devices
    hideAddressBar: true,
    // Opens links in an iframe preview overlay
    previewLinks: false,
    // Transition style
    transition: 'convex', // none/fade/slide/convex/concave/zoom
    // Transition speed
    transitionSpeed: 'default', // default/fast/slow
    // Transition style for full page slide backgrounds
    backgroundTransition: 'fade', // none/fade/slide/convex/concave/zoom
    // Number of slides away from the current that are visible
    viewDistance: 3,
    // The display mode that will be used to show slides
    display: 'block'
};
プレゼンテーションのスタイル
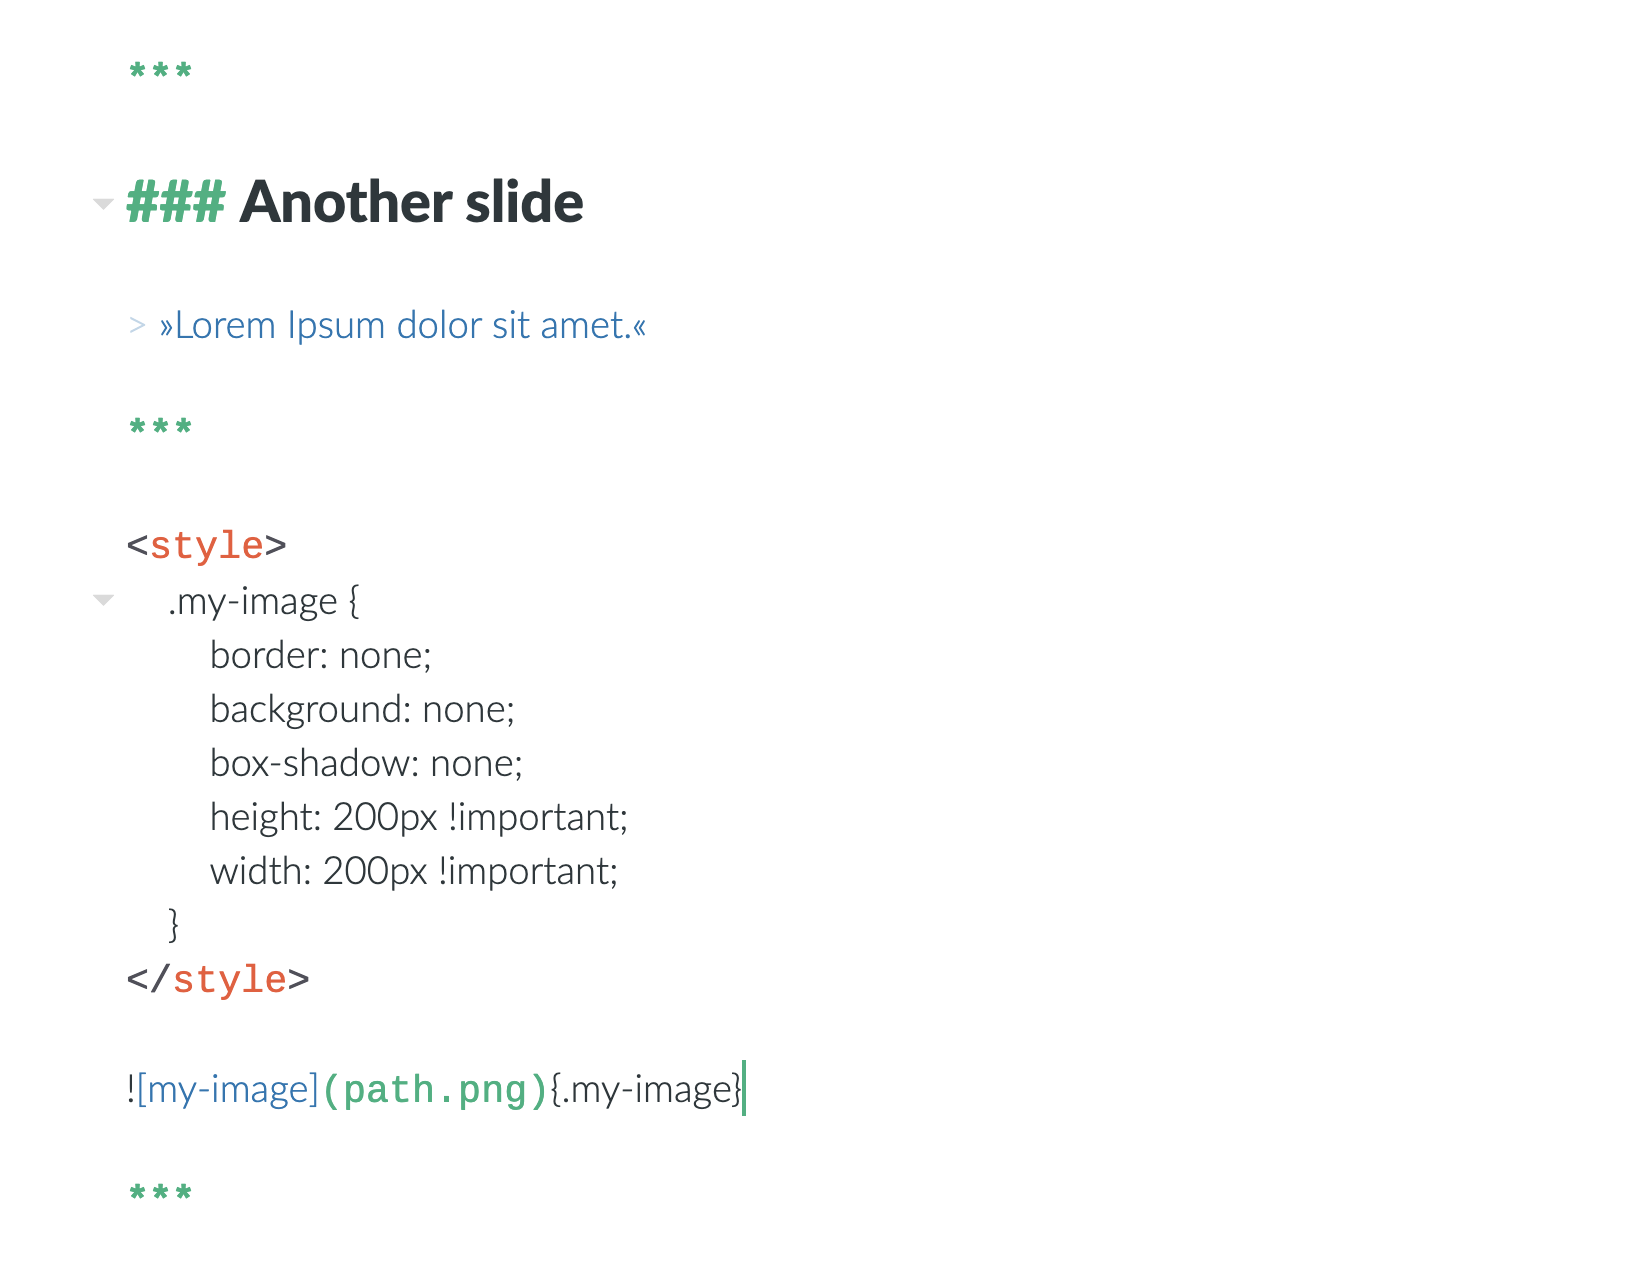
用意されたテーマが気に入らない場合や、追加のCSSが必要な場合は、プレゼンテーションのどこかに<style>タグを追加してください。
スタイルをきめ細かく制御するにはCSSの知識が必要ですが、プレゼンテーションの見た目自体は満足できるものになるはずです。
画像
HTMLプレゼンテーションの欠点は出力されたファイルに画像を含めることができないということです。(正確に言うと含めることは可能ですが、すべての画像の容量を合わせて1.3倍した分だけファイルサイズが増加してしまいます。)
なので、どこに画像を置くかを決める必要があります。基本的には3つの選択肢があります。
- Markdownファイルと同じディレクトリ内に、画像用のディレクトリ(例えば
img)を作ります。そして、すべての画像を相対パス(img/my-image.jpg)を使ってリンクします。ファイルのエクスポート時に、プレゼンテーションファイルからの画像ディレクトリの相対パスが、ソースファイルと同じになるように注意してください。 - すべての画像ファイルをプレゼンテーションファイルと同じディレクトリに置きます。この場合、ファイル名を使って画像をリンクするようにします。
- 画像をWeb上にアップロードします。例えば画像ホスティングサービスを使い、そのURLを使ってリンクします。プレゼンテーションを置く場所で有効なインターネット接続が必要になるというのが唯一の欠点となります。
経験則: Zettlrで画像が正しく見えているならば、プレゼンテーションファイルが画像から見て正しい相対パスに置かれている限り、プレゼンテーションも正しく見えるはずです。
If you really must, you can tell Pandoc to include all images directly in the HTML file by setting the variable
self-containedtotruein your defaults file (it does not work inside the frontmatter). But remember that many images in your presentation could easily result in an HTML file of dozens of Megabyte. However, then you'd have a truly self-contained presentation file.